DIY Installation Instructions: MSI's Everlife® Luxury Vinyl Plank Rigid Core Flooring
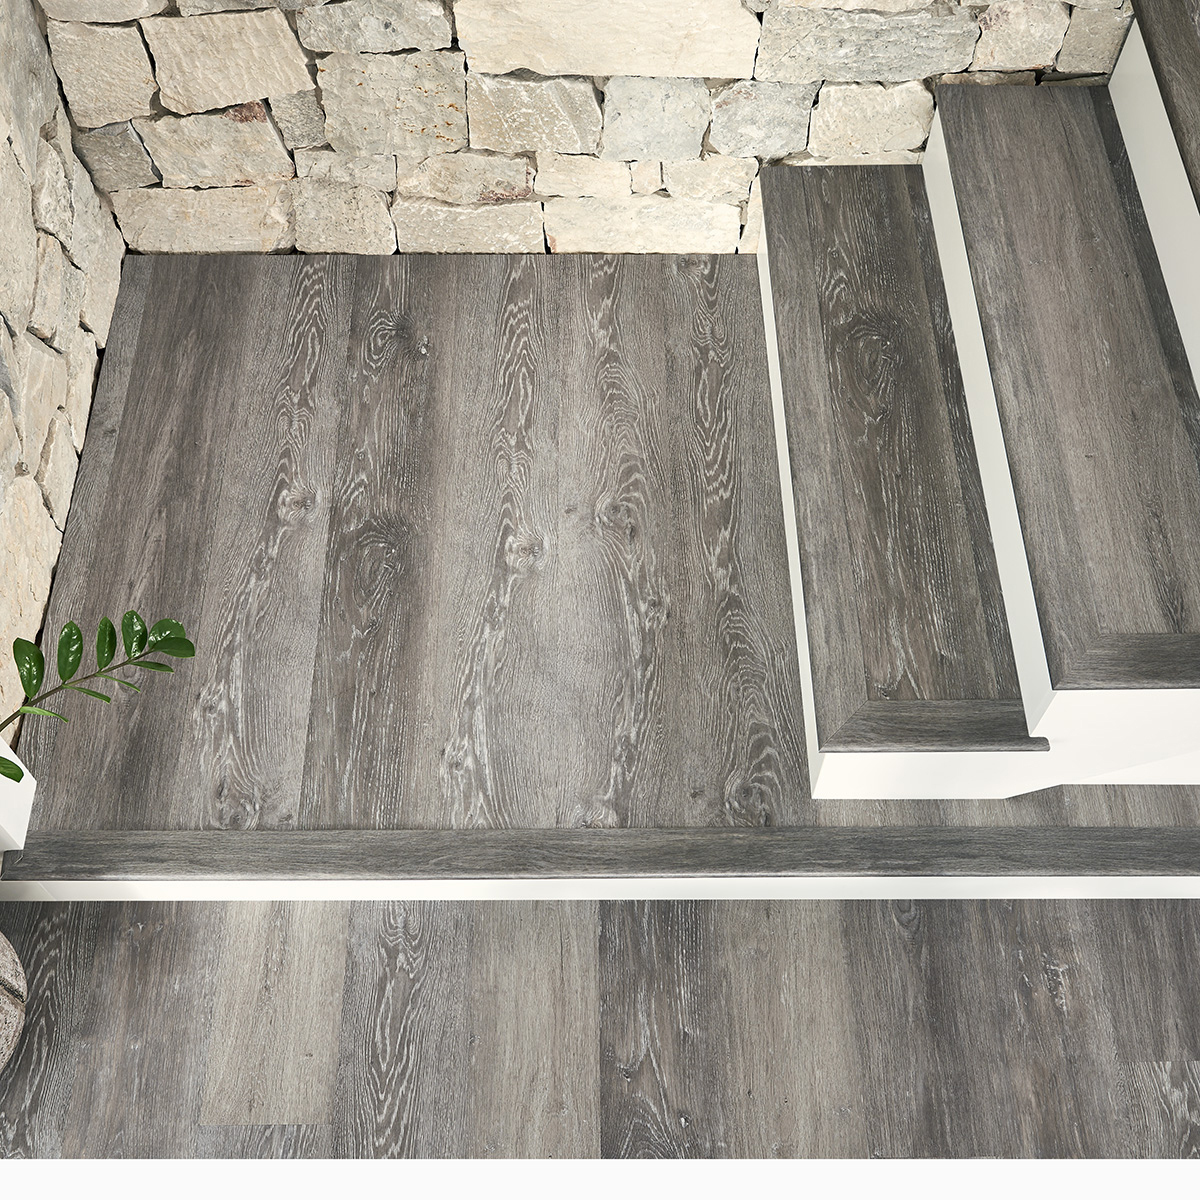
March 31, 2025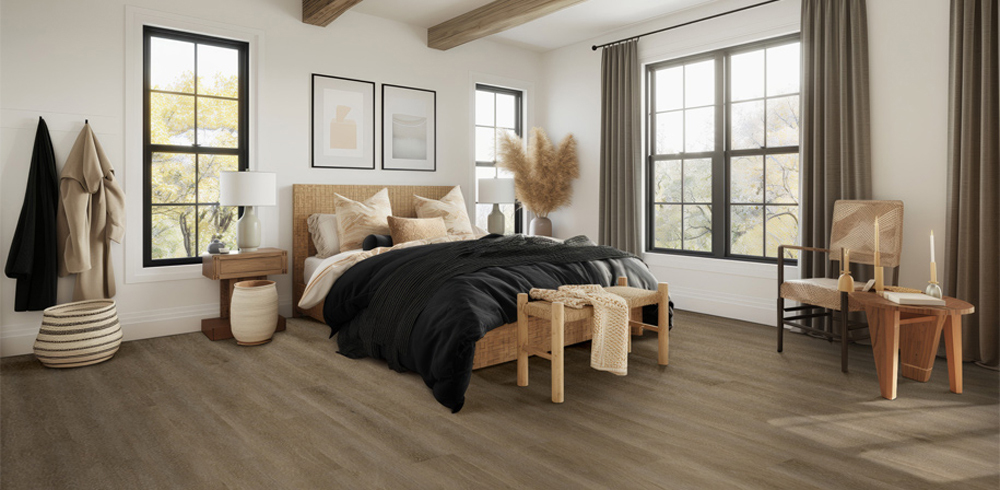 Studio™ Doack Luxury Vinyl Planks
MSI's Everlife® Luxury Vinyl Plank (LVP) Flooring is designed for durability, style, and ease of installation, making it an ideal choice for homeowners who want a high-end look without the need for professional installers. With its user-friendly locking system and waterproof capabilities, luxury vinyl planks are perfect for a variety of spaces, including kitchens, bathrooms, and other moisture-prone areas such as laundry rooms and basements. Its rigid core 100% waterproof construction ensures protection against spills and humidity, making it an excellent choice for households looking for a resilient flooring option.
This guide provides step-by-step instructions to ensure a smooth and professional-looking installation.
Pre-Installation Preparation![pre-install-prep]()
Before beginning the installation, carefully review all enclosed instructions. Proper preparation is essential to achieving a seamless and long-lasting floor.
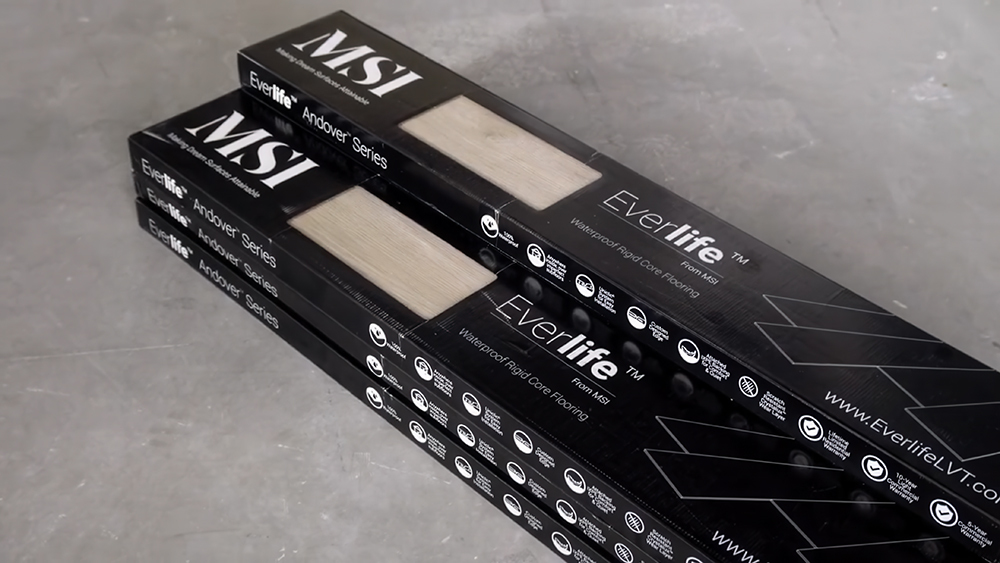
Inspect Flooring Materials
Examine each scratch resistant plank under good lighting conditions to check for defects such as chips, scuffs, or color inconsistencies. Since natural variations in pattern, color, and texture are expected, mix planks from multiple boxes to ensure a well-balanced look. Also, clear debris from the grooves to prevent installation issues.
Acclimation Requirements
While MSI Everlife® LVP does not require acclimation under normal conditions, it is necessary if the flooring has been exposed to extreme temperatures. If stored at temperatures below 40°F (5°C) or above 95°F (35°C), let the planks adjust in unopened cartons for at least 12 hours in the installation room. The indoor temperature should remain between 65-85°F (18-25°C) throughout the life of the flooring.
Subfloor Requirements
A stable and properly prepared subfloor is crucial for a smooth easy-install process. The subfloor must be flat, clean, and dry. Irregularities can cause locking issues, gaps, or premature wear.
Flatness & Suitability
Subfloors must be level within 1/8” per 6 feet. Any high spots should be sanded down, while low spots must be filled with a suitable floor leveler. MSI Everlife® LVP can be installed over many existing hard surfaces, including:
- Wood
- Non-cushioned vinyl or linoleum
- Ceramic/porcelain tile (with grout lines less than 1/16")
However, it should never be installed over carpet, as doing so will void the warranty.
Moisture Considerations
Although Everlife® LVP is waterproof, excessive moisture can damage underlying wood subfloors. When installing over concrete, conduct a relative humidity (RH) test using ASTM F2170 probes. If RH levels exceed 90%, apply a moisture barrier or use an MSI-approved adhesive. Avoid hydrostatic pressure buildup by ensuring proper concrete curing (minimum 60 days old).
Radiant Heating
MSI Everlife® LVP can be installed over hydronic radiant heat systems with specific precautions. Ensure the heating components have a minimum of 3/8” separation from the product. The system must be operational for at least two weeks prior to installation, and temperatures should be reduced to 65°F (18°C) five days before installation. After installation, gradually increase the temperature by no more than 5°F per hour, with a maximum operational temperature of 85°F (29°C). An in-floor thermostat is recommended to prevent overheating and ensure longevity. Click here for more information on installing LVP over radiant heating.
Required Tools and Supplies
To ensure an efficient installation, gather the necessary tools beforehand:
- Circular saw or utility knife
- Straight edge ruler or T-square
- Safety glasses
- Measuring tape
- Spacers (1/4" or 1/2")
- Pencil
- Quarter round molding (if needed)
Installation Steps![install-prep]()
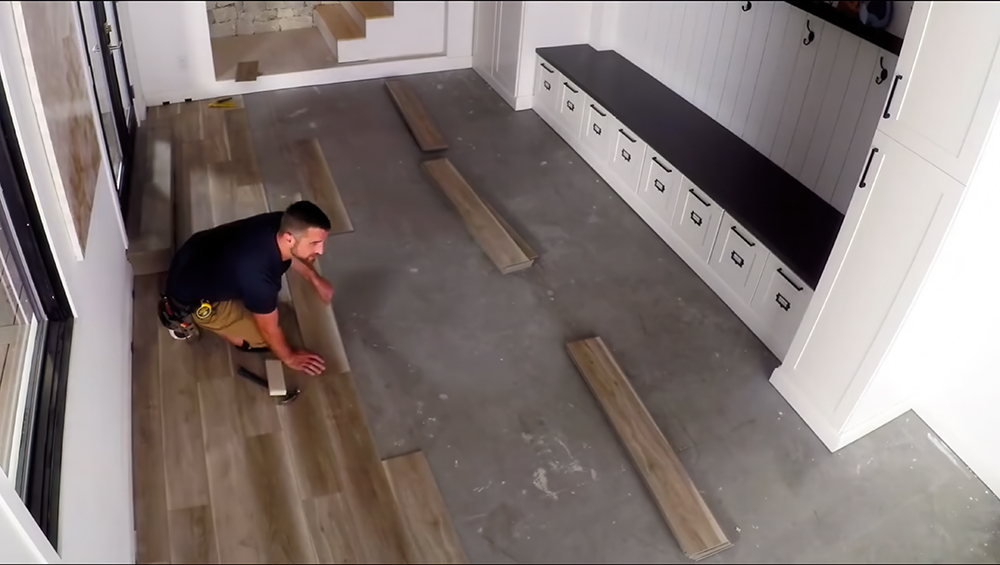
1. First Row Placement
Start in the left-hand corner of the room. Remove the tongue from the long side of the first row using a utility knife. This ensures a clean edge against the wall.
Position the first plank with the trimmed side facing the wall and use spacers to maintain a 1/4" expansion gap along all walls. This gap allows the flooring to expand and contract naturally.
2. Assembling the Planks
Insert the short end tongue of the next plank into the groove of the first plank at an angle. Gently lower it into place, ensuring a snug fit. Continue this process for the entire first row.
3. Staggering Subsequent Rows
Begin the second row using a cut piece from the first row, ensuring it is at least 8 inches long. The joints should be offset by at least 10 inches from the previous row to create a natural-looking stagger.
To install each new plank, tilt it at a slight angle (15-25°) and insert the tongue into the groove of the previous row. Apply light pressure until the plank clicks into place. Repeat for the remaining rows.
4. Cutting the Final Row
Measure and mark the final row of planks to fit snugly against the wall. Use a utility knife or saw to trim them accordingly. Maintain the 1/4” expansion gap.
5. Accommodating Door Frames and Vents
For door frames, trim the bottom using a handsaw so the flooring can slide underneath. Around heating vents and other obstacles, measure and cut planks to fit, ensuring a clean and professional finish. T-molding is recommended for transitions between rooms.
6. Securing Molding and Trim
After completing the installation, install quarter round molding using finishing nails. Nail the molding into the baseboard rather than the flooring to allow for natural expansion.
Post-Installation Maintenance and Care
Proper maintenance will extend the life and beauty of MSI Everlife® LVP flooring. Follow these guidelines:
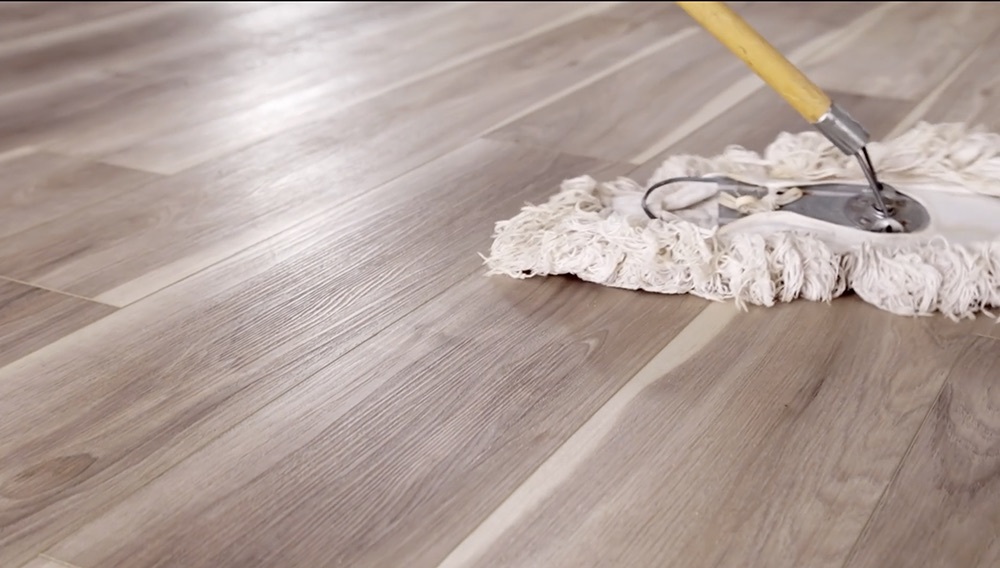
Daily Cleaning
Use a dust mop or broom to remove dirt and debris. When necessary, clean with a slightly damp mop and a neutral pH floor cleaner. Avoid excessive moisture.
Protective Measures
- Place felt pads on furniture legs to prevent scratches.
- Use walk-off mats at entrances to minimize dirt and debris.
- Avoid using rubber-backed mats, as they may stain the flooring.
- Keep pet nails trimmed to prevent surface damage.
Warnings
- Do not use wax, polish, or oil-based cleaners, as they can leave a cloudy residue.
- Avoid excessive direct sunlight to prevent discoloration; use blinds or curtains during peak sunlight hours.
- For bathrooms and other wet areas, apply silicone caulk around the floor perimeter to prevent moisture seepage.
Complete the Look![trims]()
Enhance your installation by incorporating MSI's Luxury Vinyl Flooring accessories such as coordinating transition pieces, stair noses, quarter rounds, and underlayment options. These finishing touches help create a seamless, professional look while adding durability and comfort. Explore the full range of accessories here: MSI Luxury Vinyl Flooring Accessories.
Install Your LVP Floor Now
Ready to get started? Watch the step-by-step online installation video for further instructions: Install Your LVP Floor Now. This helpful guide will walk you through the process to ensure your flooring project is a success.
DIY installation of MSI Everlife® Luxury Vinyl Plank Flooring is an achievable project for homeowners looking to upgrade their space. By following the proper steps for subfloor preparation, plank assembly, and post-installation care, you can enjoy a beautiful, durable, and professionally finished floor that will last for years to come. And because Everlife from MSI is a top-rated luxury vinyl flooring brand, you’re enhancing your kitchen, bathroom, or living space with a stylish and resilient flooring solution suitable for any home.
Start now by chatting online with an MSI expert for personalized recommendations, visit an MSI showroom to see Everlife® LVP in person, or discover where to buy luxury vinyl flooring by searching our online Dealer Locator to find a trusted retailer near you.