Replacing Your Old Counter With A New Marble Countertop Without Ruining Your Vanity
March 21, 2019
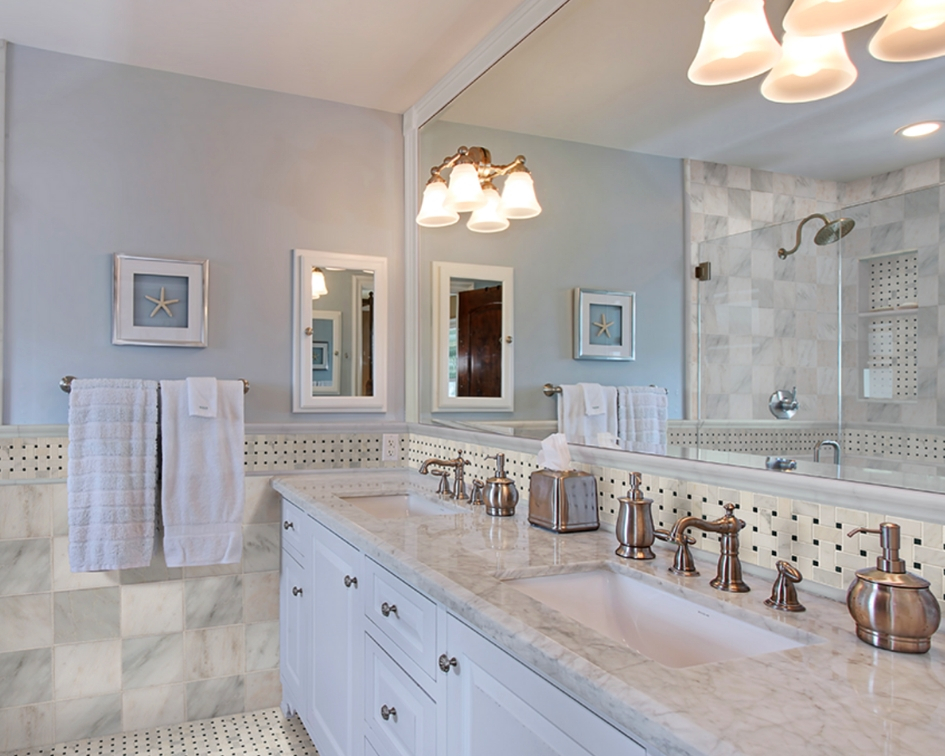
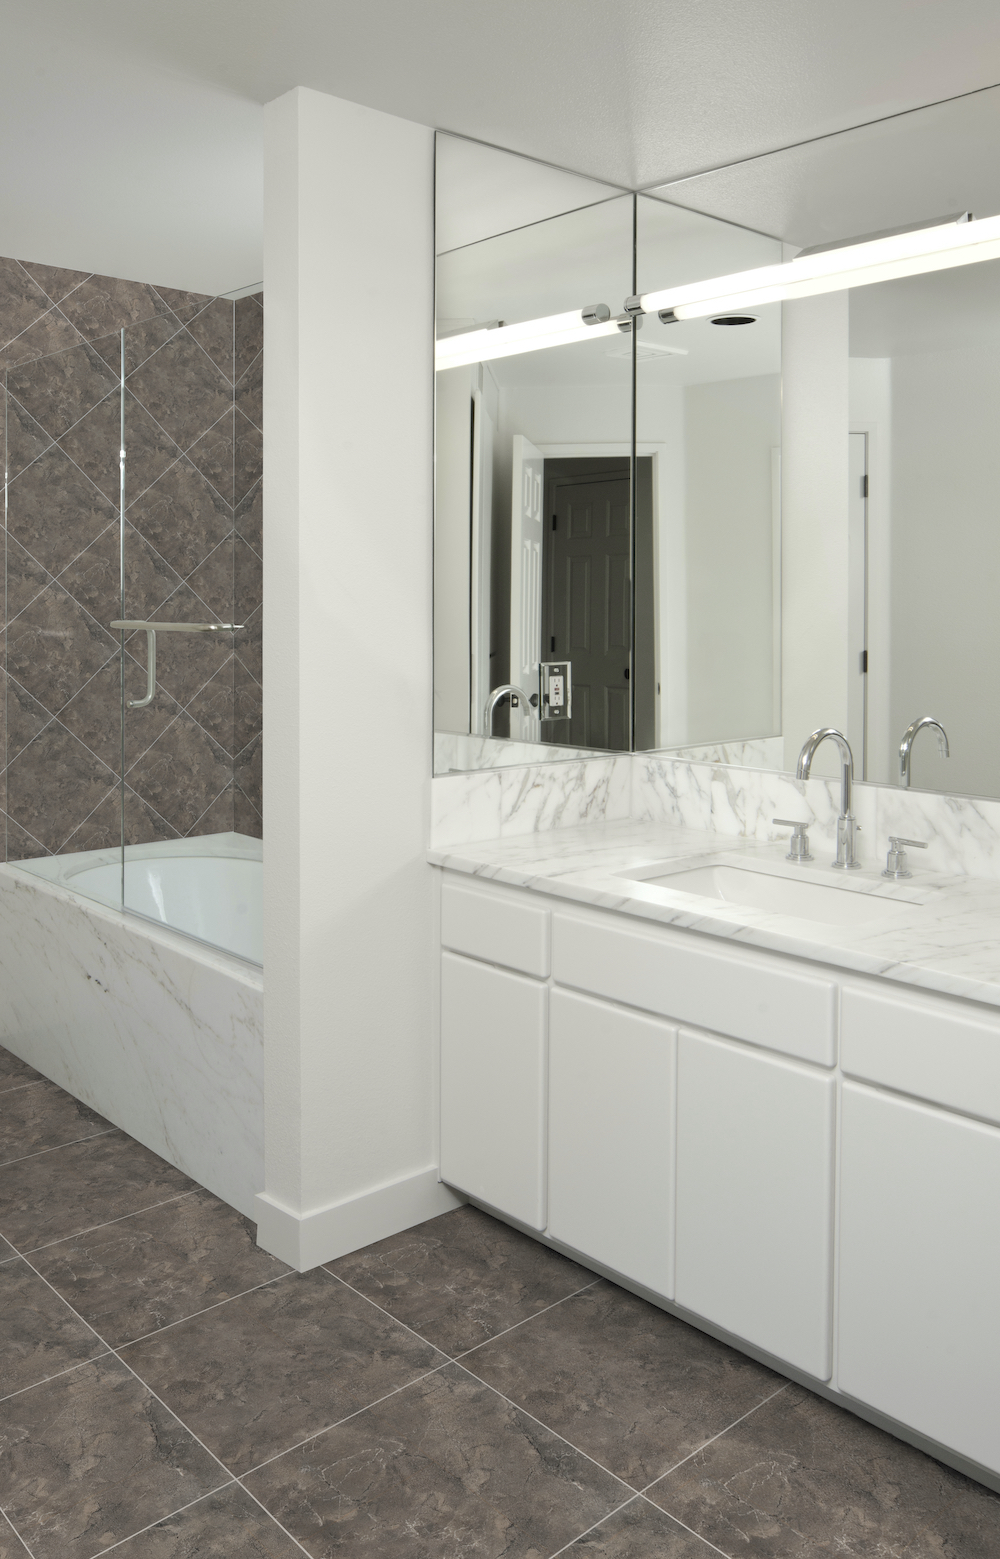
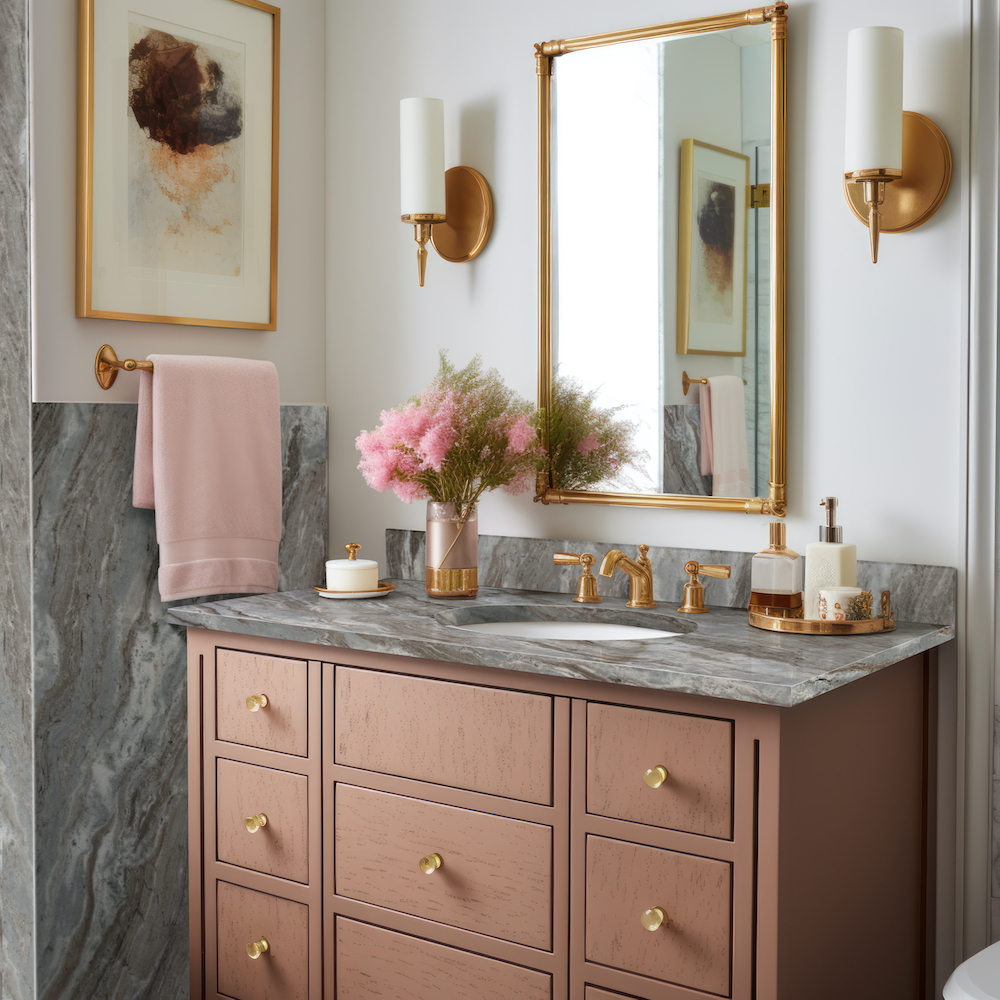
In just a matter of hours, you can update your outdated bathroom vanity with something spectacular. What better way to make a big impact on your big or small space than with luxurious marble! A new marble countertop is sure to impress, as it is one of the most desired building materials on the market. While you may be extremely excited to ditch your old counter, you will have to demo delicately during the process. Follow this how-to to avoid ruining your existing vanity.
Planning for Your Vanity Replacement
The best way to avoid ruining a precious marble vanity is to plan the replacement prior to starting the project. Instead of running to and from the hardware store, you want to have everything you need to make the replacement run smoothly and finish quickly. Here is a list of supplies and tools needed to get the job done:
• Bucket or container
• Caulk gun
• Crescent wrench
• Level
• New supply lines
• Old towels
• Painter’s tape
• Putty knife
• Rags
• Screw gun
• Silicone caulk
• Stain-free plumber’s putty
• Utility knife
• Wrench
How to Remove the Existing Vanity
You most likely will be replacing an old countertop with a sink, which means some plumbing will be involved. Before you start grabbing your tools, make sure to turn off both the hot and cold water valves first. If you are unable to find them, then turn off the main water to the house. Let the water drain out from the faucet drains, and disconnect the supply lines that run from the water source in the wall. Use a crescent wrench if you cannot turn it by hand. Keep a bucket close by so that it can catch any water that might spill or drip from the supply lines. Disconnect the tailpiece from the P-trap and remove the P-trap.
Now that the plumbing is handled, it is time to tackle the old countertop. Break the caulk seal around the vanity by using your utility knife. Give it a little tug to help loosen it off the wall. If the countertop is attached underneath, then unscrew it. If it is glued to the vanity base, then use a hammer and chisel on the inside to help separate it.
How to Install a New Marble Vanity
For a marble countertop with a sink, it will be easier to install your faucet first instead of installing it underneath the vanity after your countertop has been fitted. Note that directions for each faucet will vary slightly. Start by putting plumber’s putty on the underside of the faucet. Place the faucet into the pre-made holes, tighten the mounting nuts, and wipe up any excess putty. Then, connect the supply lines. Unscrew the drain assembly, add plumber’s putty on the underside of the flange, install the flange, tighten the nut, and wipe up excess putty. To install the drain assembly, slide the strap onto the lift rod, push the pivot rod down, slide the strap over the pivot rod, and lock it in place using the spring clip. Finally, tighten the thumbscrew to secure the strap.
Apply silicone caulk to the top of the cabinet. Place the marble countertop onto the vanity and check that it is level. Add a matching marble backsplash or side splashes by applying silicone caulk to the back of the stone. Use painter’s tape on the new marble countertop and backsplash to create a clean caulk line where the two materials meet. Give the adhesives time to cure.
Now it’s time to reconnect the plumbing. First, drop in the stopper into the sink hole. Underneath the sink, reconnect the supply lines and the P-trap. Finally, turn the water back on, turn on the faucet, and check for leaks.
After-Install Care and Maintenance
Carefully following the care and maintenance requirements for delicate marble is crucial to protecting your investment. The mostly calcium carbonate material is sensitive to anything acidic, including cleaners that have vinegar or lemon juice. For routine cleanings, a mild, non-acidic soap and water in a spray bottle is all you need to keep your counters clean. You can also opt for a non-abrasive stone cleaner, but be sure to carefully read all ingredients. Use a wet cloth to gently scrub your counters until the soapy solution is gone, and then dry it with a soft towel.
Whether it comes from your oil-based makeup to morning coffee, stains can happen at any moment. For getting rid of marble stains, you should first identify the type of stain before treating it. This way you will use the right chemical or cleaning agent. Note that mixing agents together can become toxic, so wear protective gear and keep the room well ventilated. Also, test it in a small area to ensure it does not damage your new marble counter. For stains or scratches you cannot get out, remember that marble can be polished again because it is a softer stone.
While sealing marble approximately every three to six months is a good idea, it does not completely prevent spills from turning into stains. Quickly addressing and cleaning up any messes on your porous surface helps the most. Clean and dry your counter, remove any built-up residue or old sealers, and follow the instructions for sealing your marble countertop. Typically, you apply it with a clean cloth, let it soak for approximately three to five minutes, and then use a clean, dry cloth to wipe up any sealer not soaked in.
Updating your countertop with elegant marble is sure to elevate the design of your bathroom and add value to your home. The high-end surface with gorgeous white or gray backgrounds and striking veining can be added to your powder bath or master bathroom in a few hours. Just be gentle during the removal process, and you will be enjoying your beautiful marble counters in no time! Of course, you will want to follow the maintenance tips, too, so that your labor of love will look like new for years to come.
 Arabescus White Marble
 Calacatta Gold Marble
 Fantasy Brown Marble