DIY Guide: How To Install Stacked Stone Ledger Panels
July 22, 2024 Sunset Silver Stacked Stone
Building homes with natural stone is an age-old tradition that can be seen throughout traditional and historical architecture. From small stone cottages to grand cathedrals, natural stone has played a key role in providing strength and durability, while creating warmth and charm that only natural stone can. Now, with the advent of natural stacked stone ledger panels, you too can elevate your home to give it the same grandeur and elegance seen within these masonry marvels.
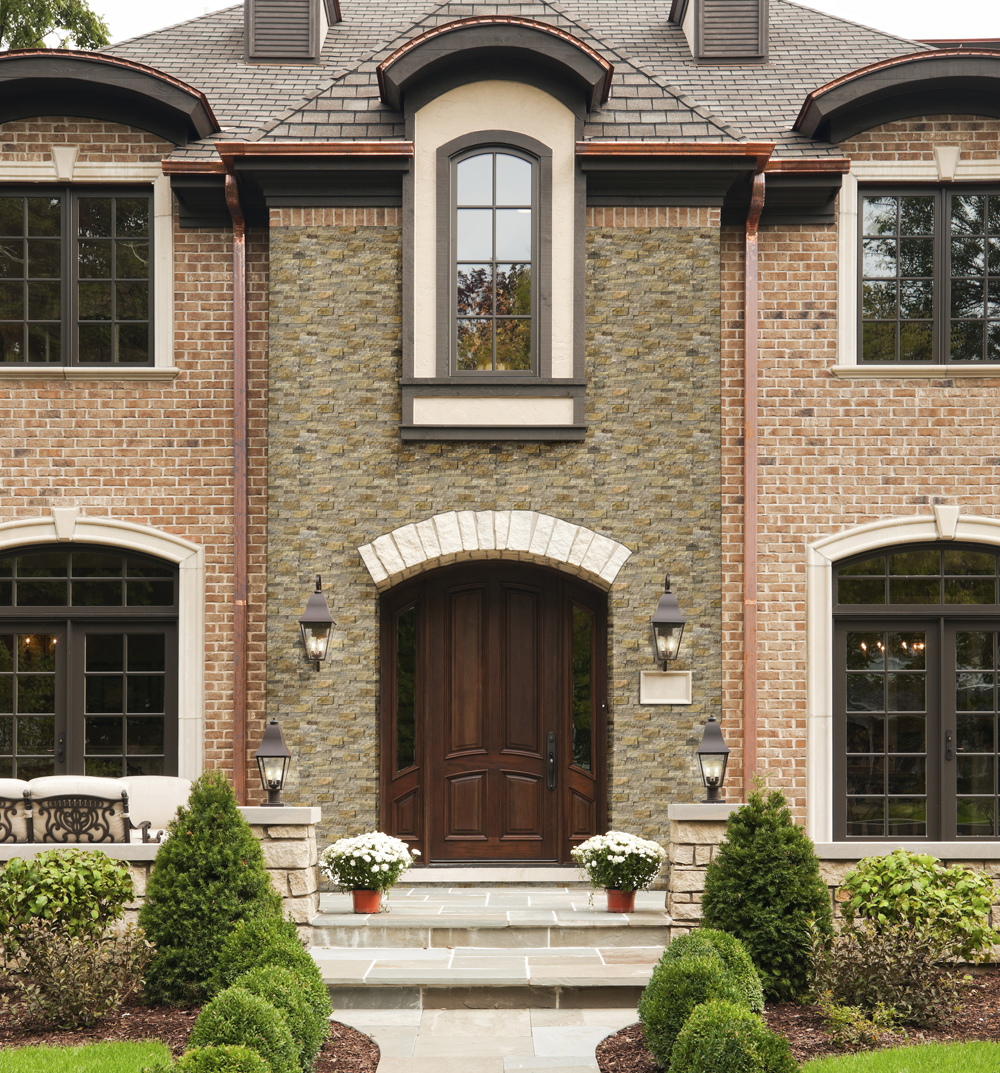
Exterior Installations
 Tuscany Scabas Stacked Stone
If you are planning to install stacked stone on the exterior of your house, ensure compliance with your local building code for Adhered Masonry Veneer and the Building Stone Institute Adhered Natural Stone Installation Guide. A water-resisting barrier, along with penetration and junction flashing, must be installed. Additionally, if concrete backing boards are used as a substrate, follow the manufacturers' installation preparation requirements. The mortar used must meet or exceed ANSI A118.15 standards, such as Custom Building Products PRO-LITE Large Format Tile and Stone Mortar. Finally, once you have completed the exterior installation of stacked stone panels, apply a penetrating sealer for sealing.
“Step-By-Step” Installation Guide
 Colorado Cream Stacked Stone
In this installation guide, we will walk you through each step of how to install stacked stone panels. With the right guidance and tools, installing our stacked stone can be easy.
Overview
- Calculating the number of stacked stone flat panels and corners required
- Preparation of the work area and wall surface
- Setting a level line
- Stacked stone panel and corner installation
Tools Needed for Successful Installation
- Eye Protection
- Hand Protection
- Drop Cloths or Heavy-Duty Construction Paper
- Level
- Pencil
- Chalk Line
- Tape Measure
- Hand Brush
- Motor Trowel
- Rubber Malet
- Stone Chisel
- Wet Tile Saw
- Mixing Bucket
- Mortar Mixer
- Shims
- Cleaning Sponge or Cloth
Step 1. Determine the Required Panel Quantity
Calculate Surface Area:
- Measure the height and width of each wall where the panels will be installed.
- Multiply the height by the width of each wall to get the individual surface areas.
- Add all the individual surface areas together to get the total surface area. This will give you an estimate of how much paneling you will require.
Projects Without Corners:
- Standard panels are approximately one square foot each, the total number of panels needed will be roughly equal to the total surface area in square feet. However, since XL Rockmount panels cover 1.5 square feet, divide the total square footage by 1.5 to determine the number of XL panels needed.
Projects With External Corners:
- Measure the height of the external corners from floor to ceiling.
- Each corner panel is 6 inches (0.5 feet) tall, so multiply the height of each corner by 2 to determine the number of corner pieces needed.
- Calculate the total area covered by corner panels. Each corner panel covers 0.75 square feet. Therefore, multiply the number of corner panels by 0.75.
- Subtract the area covered by the corner panels from the total surface area to determine the number of flat panels needed.
- Since each XL Rockmount corner piece is 9 inches (0.75 feet) tall, multiply the total height of corners (in feet) by 1.3 to determine the number of corner pieces needed.
Order Extra Panels:
- To account for waste and cuts, it is recommended to order an additional 10% more material than calculated.
Calculate Thin Set Requirement
- Once you have calculated the total area that will be covered by stacked stone, you can use this total square footage area to acquire sufficient thin set.
Step 2. Prepare for Installation
Protect the Floor:
- If installing indoors or over finished floors, lay out drop cloths or heavy-duty construction paper to protect the flooring from damage and dropped thin set.
Prepare the Wall:
- Clean the wall thoroughly to ensure it is dry, dust-free, and free of any debris.
- Ensure the substrate (the surface to which the panels will be adhered) is suitable for good adhesion, such as cement block walls or cement board.
- If using cement boards, secure them to the wall with backer board screws, ensuring they are firmly attached.
- Fill the joints between backer boards with mortar and embed tape as per the manufacturer’s instructions to create a smooth, continuous surface.
Install Fixtures:
- Install any mantels, wall fixtures, or trim before starting the panel installation. This ensures that the panels can be installed up to these fixtures seamlessly.
Step 3. Pre-Installation Layout
Layout Panels:
- Lay out the panels on the floor in front of the project area in a random pattern. This simulates how they will look on the wall and helps you visualize the final result.
- Blend and review the panels to ensure they match well and create a cohesive look.
Create a Reference Line:
- Stand the first row of panels against the wall. Use shims as needed to ensure the panels are level from end to end.
- Once the first row is level, create a chalk line at the top of the first row. This line will serve as a reference point for the installation of subsequent rows.
- Once complete, remove the panels and corners ready for installation.
Mix the Thin-set:
- Mix the thin-set mortar according to the manufacturer’s instructions. ProLight stone mortar is recommended due to its immediate hold, preventing sagging or slipping, and its high bond strength.
- Only mix small batches of the thin set at a time to ensure the thin set doesn't begin to cure during the installation process.
Step 4. Panel Installation
- For projects with outside corners, begin each row with the corner pieces.
- Using a masonry trowel, apply thin-set to the wall where the panel will be placed. Also, apply a thin layer of thin-set to the back of the panel using a motor trowel.
- This method ensures that when the panel is placed on the wall, all voids in the panels are filled, resulting in good contact with the wall.
- Press the panel into place and tap it with a rubber mallet to ensure the panels are securely attached and level, following the chalk line.
- If there are no exposed corners, start by cutting a straight edge on the first panel to ensure it is plumb with the adjacent wall and follows the level line.
- Repeat this process for subsequent panels, interlocking them as you go and applying thin set in the same manner.
- Use shims and spacers as needed to maintain the level chalk line.
- Cut panels using a wet tile cutter to fit at the ends if necessary to ensure a proper fit.
- For inside corners, install panels on both walls until gaps for the final pieces remain.
- Measure and cut pieces to leave a half-inch gap from the adjacent wall.
- Use a chisel to smooth sharp corners for a better fit.
- Continue installing panels row by row, starting with corner pieces if applicable, followed by the flat panels.
- When installing the external corners for the subsequent rows, be sure to rotate the corner piece 180 degrees to avoid noticeable seams between rows.
Temporary Support:
- For panels installed above openings, such as doors, windows, and fireplaces, add temporary support beneath to avoid sagging until the thin-set sets.
Cut Around Fixtures:
- Cut the panels to fit around any pre-installed wall fixtures, such as fireplace mantels to ensure a clean finish.
Common Installation Issues
By following these four simple steps, you will be able to avoid some of the more common stacked stone installation issues. These include gaps between panels, difficulty aligning corners, the zipper effect where panels slip during installation, and problems associated with starting your project in the wrong area. Proper planning and following the correct installation procedure are key to preventing these issues. Simply take your time and proceed carefully through each step to achieve a flawless installation. Remember to always measure and check twice before making any cuts or installing panels.
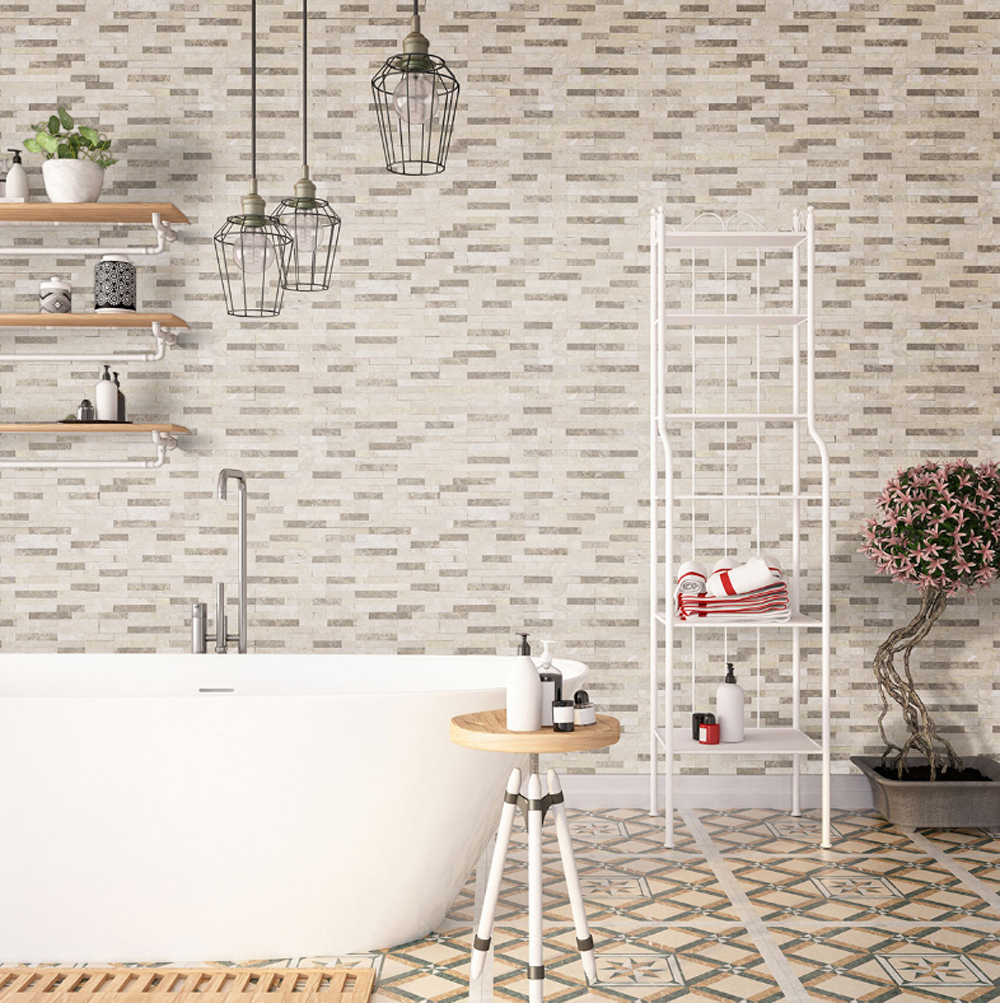
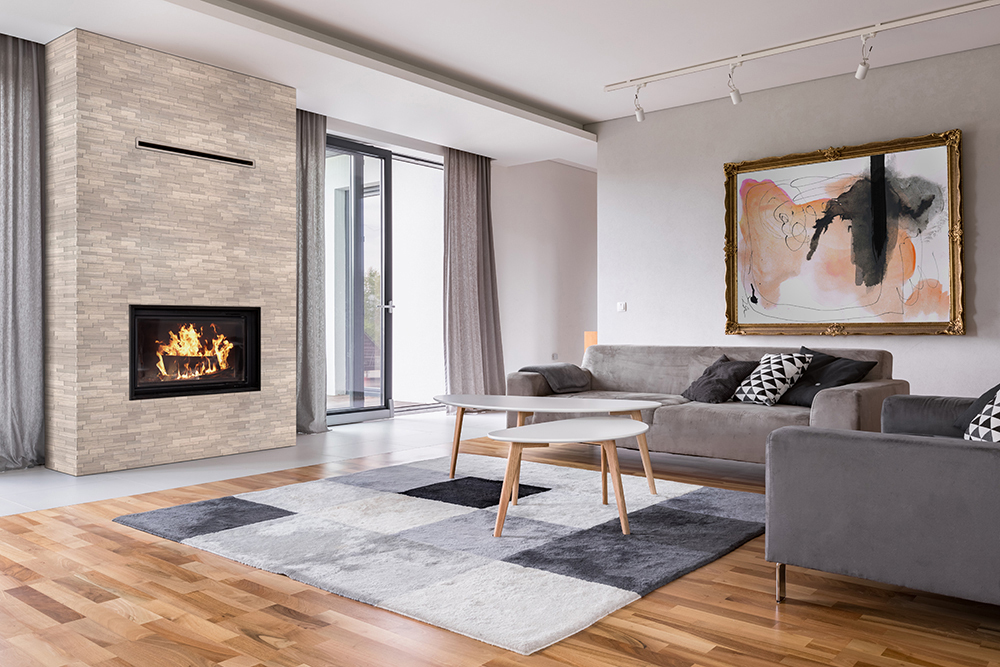
Something To Suit Everyone
 White Oak 3D Mini Stacked Stone
Transform your space with our stunning range of natural stone products, designed to fit any location and complement any style. From breathtaking accent walls to elegant stacked stone veneer fireplaces, our diverse range offers the perfect solution for your project. Explore a vast selection, from Arctic White, California Gold, Sedona Gray, and much more in between. Whether you're a passionate DIY enthusiast or a seasoned mason, our stone ledgers are incredibly easy to install, ensuring a hassle-free experience.
How to Learn More About Our Products
Discover the elegance of our stacked stone panels by chatting with us online, visiting an MSI showroom, or contacting an authorized MSI retailer in your area.
READ MORE ABOUT STACKED STONE
Exploring The Distinction: Stacked Stone vs. Stone Veneer with MSI’S Rockmount™ And Terrado® Collections
Going Large With XL Rockmount™ Stacked Stone Panels
7 Most Popular Uses of Stacked Stone
Stacked Stone: A Natural Choice for both Interior and Exterior Projects